

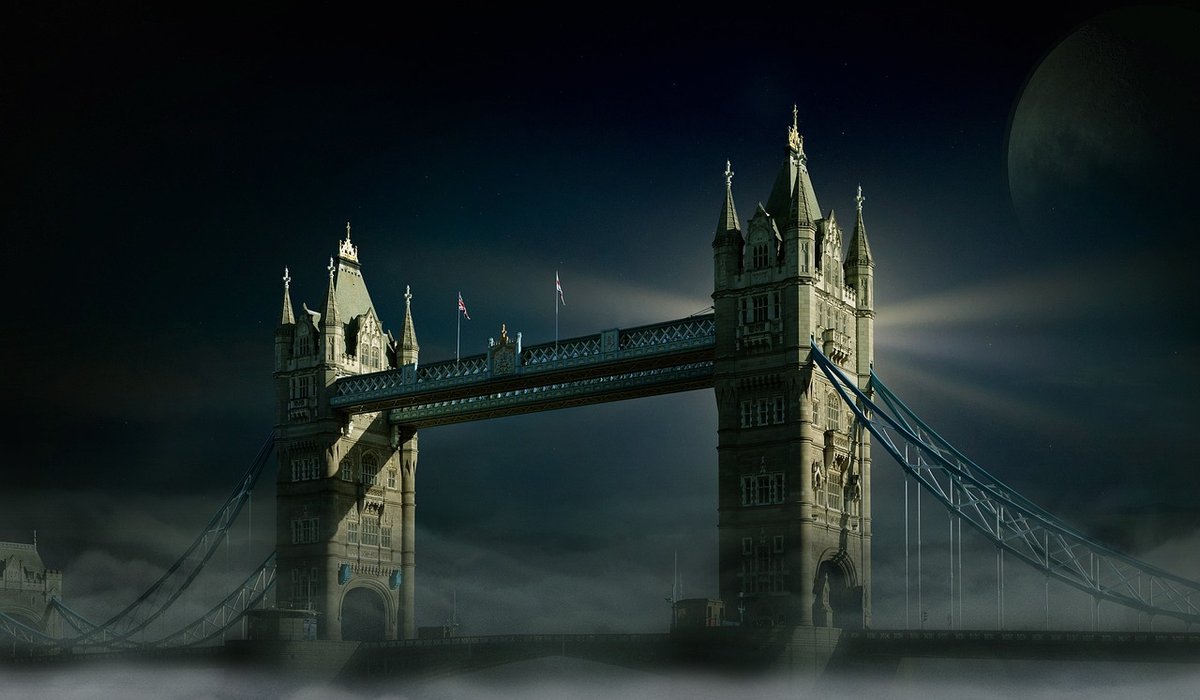
What the Blue Hour Really Looks Like
The blue hour is a slight misnomer: in Britain you often get twenty to forty minutes of usable light, sometimes less in the depths of winter, sometimes a good hour on a soft June evening. It begins as the sun drops below the horizon and the afterglow fades, leaving a sky that glows deep cobalt, then indigo, then near-black. What makes it special is not the blue alone, but the conversation between that cool sky and the warm sodium, tungsten and LED light spilling from windows, shopfronts, street lamps and floodlit stone.
That mix is the whole point. Get your exposure right and you hold both the delicate gradient in the sky and the pools of detail in the shadows. Get it wrong and you either lose the sky to a flat white smear or crush the foreground into a black void. The good news is that the blue hour is forgiving if you work methodically.
Finding the Right UK Locations
You want somewhere with water, wet stone or reflective surfaces, and a source of warm artificial light close at hand. Sea fronts, harbours, canal basins and riverside walks are ideal because the water doubles your colour.
- Coastal towns at dusk: promenades, piers, breakwaters and harbour walls give you a clear sightline west and lamp posts as anchors. Check tide times first, as a rising tide can cut off your position.
- City riversides: bridges, footpaths and quayside developments offer reflections, leading lines and plenty of architectural lighting.
- Old towns and cathedrals: floodlit sandstone and limestone turn a rich honey-gold against blue, and cobbles stay damp long enough to mirror the lamps.
- Wet-street urban work: after rain, any high street will do. Puddles, tram lines and painted kerbs all bounce warm light back at you.
Arrive at least forty minutes before sunset. You want to be composed and set up well before the light peaks, not fumbling with a tripod as the colour arrives.
Kit and Settings That Make Life Easier
A sturdy tripod is close to essential, along with a remote release or a two-second timer to kill vibration. Live view is your friend for composition and precise manual focus. A shutter speed somewhere between one and fifteen seconds is typical; if you need longer, raise the ISO before you reach for a wider aperture.
- ISO: stay at 100–400 if you can. Slightly higher is better than a soft, blurred frame.
- Aperture: f/8 to f/11 gives you a sharp sweet spot and enough depth of field.
- Focus: switch to manual and magnify on a lamp, a lit window or a bridge parapet, then refocus if the light shifts.
- Exposure mode: manual, or aperture priority with exposure compensation you adjust every few frames.
Balancing Sky and Shadows
The core problem is that the range of brightness between a glowing sky and a shadowed alley easily exceeds what a single frame can hold. The reliable approach is to protect the sky and lift the shadows later, rather than blowing highlights to rescue the foreground.
Start by metering for the brightest part of the sky — the horizon glow, not the brightest lamp — and expose so it sits just below clipping. Your live-view histogram is the quickest guide: the right edge should be close but not crammed against the wall. Then check the shadows. If the foreground is unusable, try these in order: add light with a small torch bounced off a hand, raise your ISO one stop, or bracket three frames at one-stop intervals and blend them later.
Don't fear a little darkness. Deep shadows with one or two bright pools are far more atmospheric than a flattened foreground. The eye enjoys mystery; a frame that reveals everything often moves nobody.
Watch out for street lamps that dominate the histogram. They will blow out and that is usually fine, but if a lamp sits at the edge of the frame and flares, shift your position a metre or two so it tucks behind a building, a tree or a pillar.
Colour, White Balance and Warm Lamps
Set your white balance manually rather than letting the camera guess. Around 3800–4500K keeps the sky convincingly blue without turning the lamps orange-red. Shoot raw, because the blue hour flatters colour adjustments and you will want the latitude.
The British mix of lighting types is worth noticing. Older warm-white lamps render as amber, while modern cooler LEDs can look slightly green or sickly next to them. If a lamp head looks odd, reduce its influence in post by desaturating that specific hue rather than throwing the whole image off balance.
Working Quickly and Composing Well
The colour window is short, so decide your shot before you go. Look for a foreground that earns its place: a bench, a bollard, a jetty post, a set of steps, a figure walking under a lamp. Use those elements to lead the eye into the frame and give scale to that luminous sky. Reflections help enormously, so get low and close to wet paving or calm water.
Bracket generously, review the histogram between frames and be prepared to change exposure as dusk deepens. When the sky finally drains to near-black, pack up, warm your hands, and head home. You will have earned the shot.


Coding is used in almost all aspects of life and work now, be it directly or indirectly. It’s not just for companies in the tech sector. “An increasing number of businesses rely on computer code,
Coding is used in almost all aspects of life and work now, be it directly or indirectly. It’s not just for companies in the tech sector. “An increasing number of businesses rely on computer code,
Coding is used in almost all aspects of life and work now, be it directly or indirectly. It’s not just for companies in the tech sector. “An increasing number of businesses rely on computer code,